I think of all the things I love about where I live, having a climbing wall in our studio is definitely in my top three. We had a couple of constraints in constructing the wall:
- Our lease doesn’t allow pounding anything into the wall, so the structure had to be entirely free-standing.
- I love bouldering on overhanging walls — the steeper the better. But we wanted to be sensitive to the fact that overhangs are not everyone’s cup of tea.
The Wall
In the end, we settled on an adjustable 10’ x 10’ lean-to design.
My roommate Chris and I have both found that mentioning the dimensions of the wall is a great heuristic for identifying climbers and non-climbers. The usual response from a non-climber is along the lines of, “Really? Isn’t that too small?”
Everyone always changes their mind on that after a good workout on the wall.

Chris and a friend handled most of the construction of the structure, which took about 40 hours in total. I think the most time-consuming part of the process — aside from waiting for the deck paint to dry – was drilling each of the dozens upon dozens of holes and installing a t-nut in each.
As I mentioned earlier, the incline is adjustable. Originally we had a 15° overhang, but have since dropped the wall down a bit further to 30°. This seems to be a nice compromise given that our friends are climbers with varying amounts of experience, specialties, and skill levels.
Setting — First Try
Initially, I tried a couple of traditional setting strategies. The specifics varied, but the basic idea was to visualize the outline of a problem and then set it piece by piece. I quickly learned a couple of things:
This takes skill. Just because you are good at climbing a certain type of problem does not mean you will be able to set similar satisfying problems. It’s a completely different thought process and creative skillset.
Setting is hard work! At first I was trying out the problem as I set each piece, which was very tiring. I heard a better strategy was to set the whole problem before trying to test and tweak it. This was great advice, but climbing up and down with holds and screwing them in is still a lot of work.
I came out with a newfound respect for routesetters at the gyms I go to, and it gave me some small amount of additional insight into bouldering problems in general.
Setting — Second Try
What ultimately made me try a different strategy was thinking more deeply about how we were using the wall. Given that the friends I climb with are all at different levels, we would generally just try climbing around or playing add-on rather than climbing specific problems.
Add-on is a very simple game. In a sense, it’s the bouldering version of H.O.R.S.E. The first climber chooses a starting position and makes a single move. The next climber copies that move, and then adds on another move. This is a great game when you have climbers at different levels, since everyone can play along and take part in some friendly competition.
Given that we were using the wall this way, I started thinking more about where to place holds on an individual basis, rather than where to place problems. Instead of trying to visualize an entire problem, I now just think about where a single hold might be interesting, and what orientation might make it fun to pull on.
Since I only have to consider one hold at a time, the cognitive load required is a lot lower. This is nice, since I’m not a very good routesetter. By just throwing up each hold in an interesting position, it’s a lot easier for me to fill the whole wall.
Here’s one of my favorite holds from So Ill, brilliantly entitled The Picking:

As a field test, we played quite a few games of add-on last Saturday, and it was tons of fun!
New Holds & Resetting
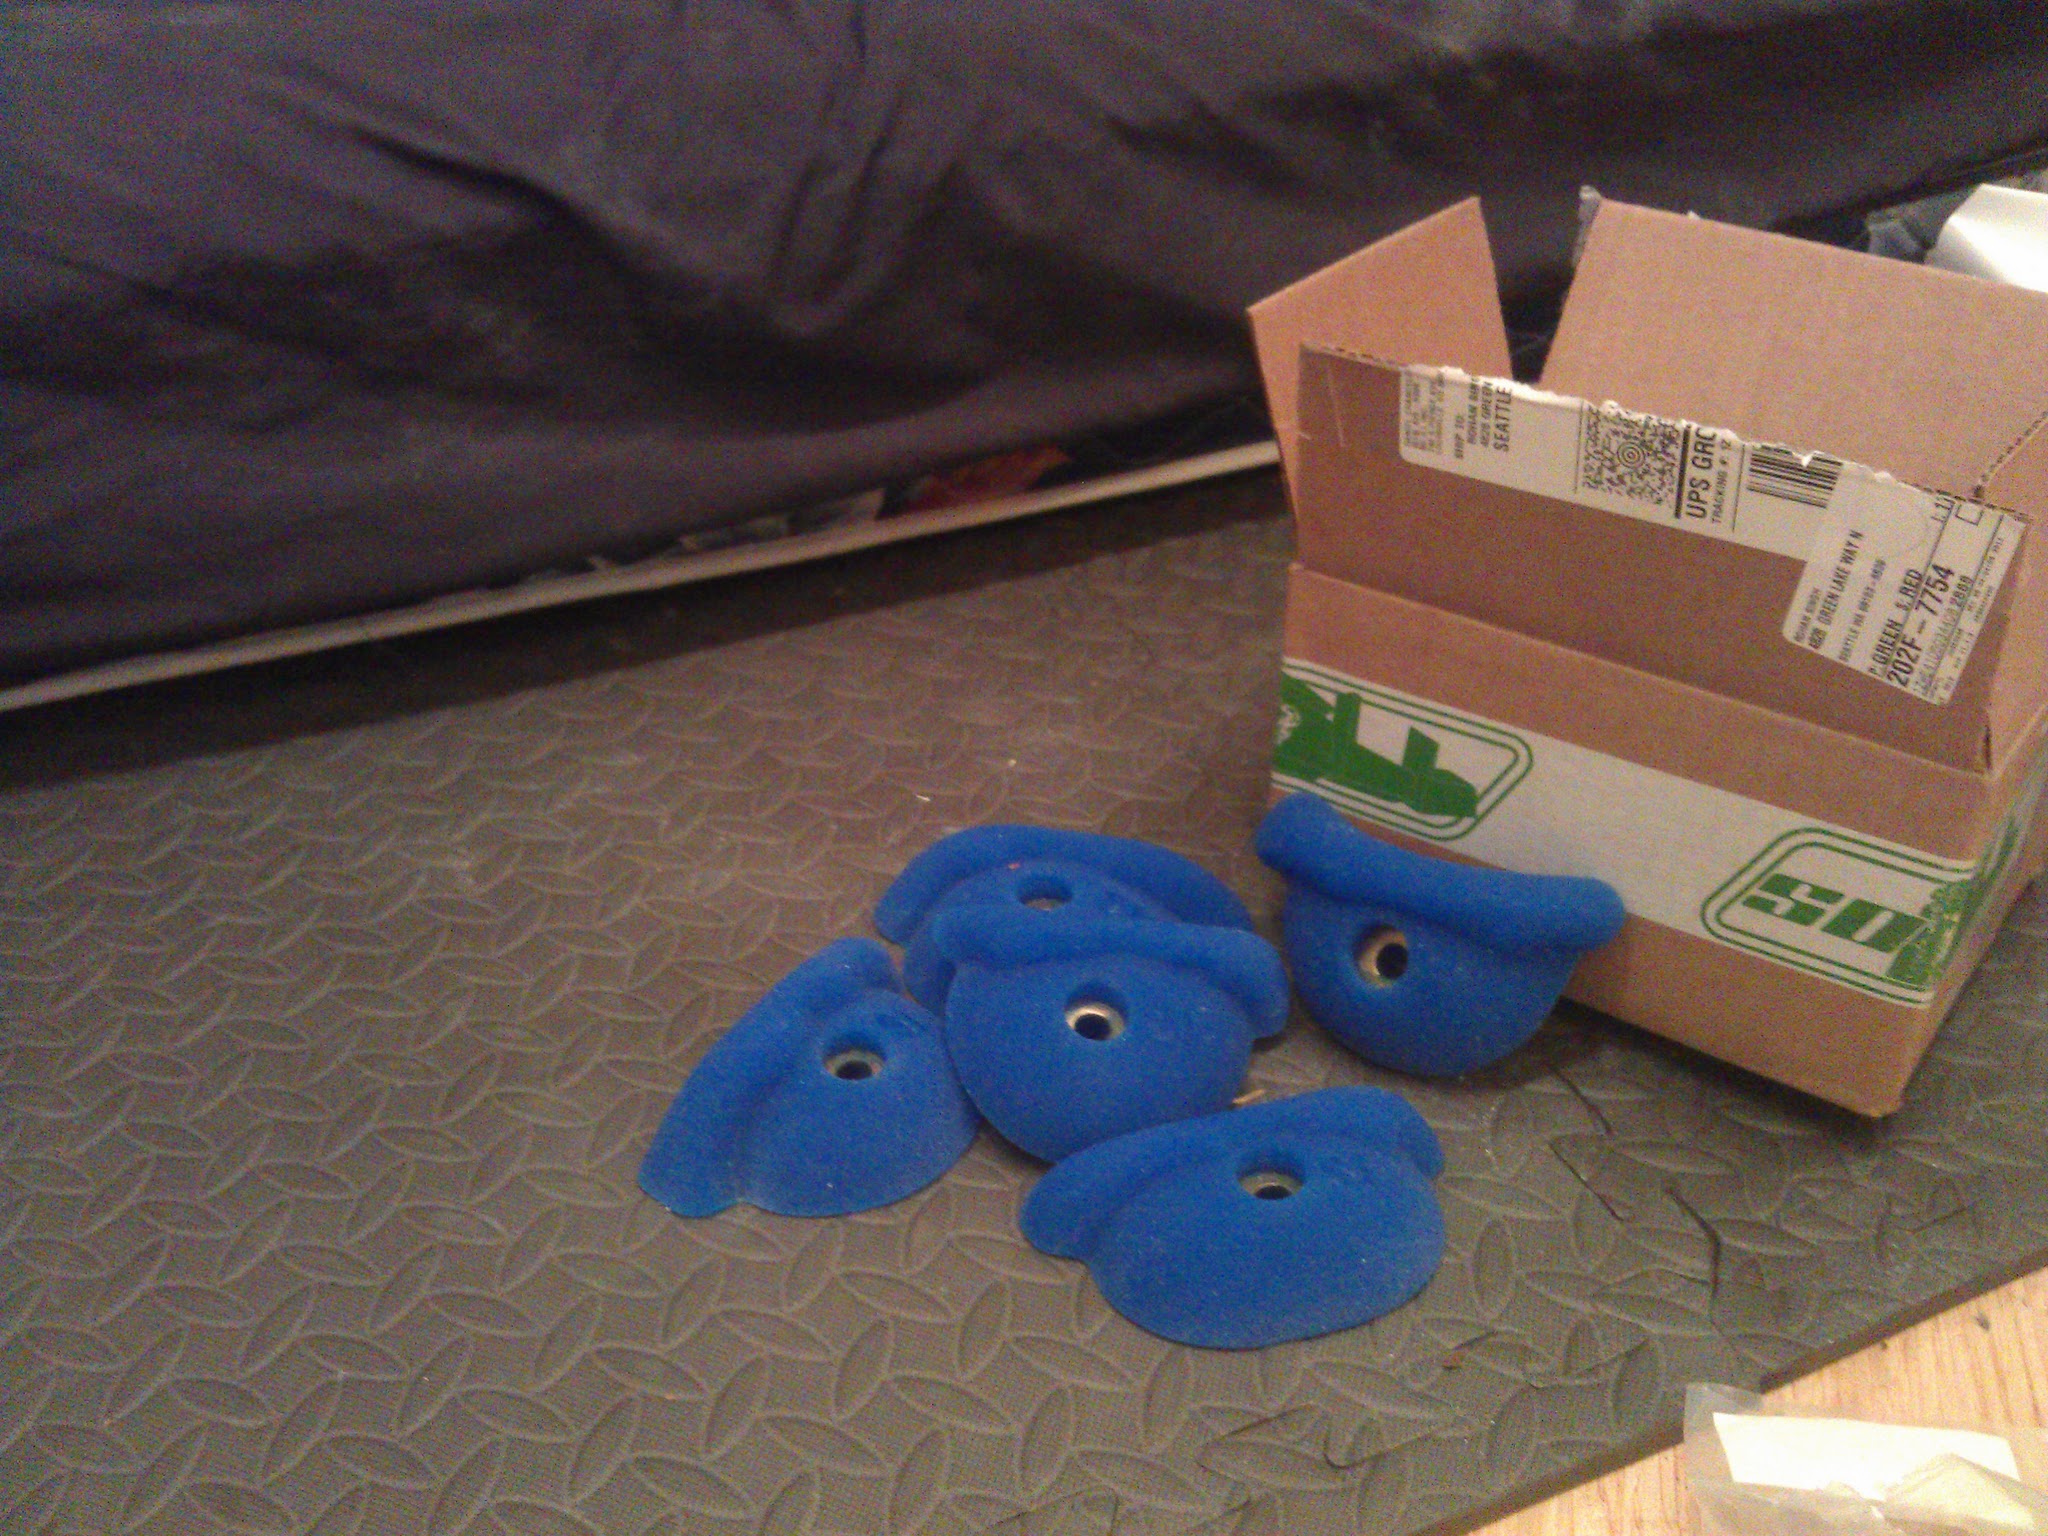
I’ve subscribed to So Ill’s hold of the month club, and it gives me an excuse to reset things and try something new every month or so. These just arrived recently:

I took the opportunity to move things around a fair bit. I moved The Picking much higher up, and rotated it to a fun new orientation. I also threw on a smattering of underclings and other new stuff.

I had actually tried putting The Picking in a similar orientation originally, but found that the it would just spin when pulled sideways — no matter how tightly I tried to bolt it in. This time I wised up and put a small hold below it to give it some reinforcement.
New game of add-on tomorrow, and we’ll see how it goes!